You're viewing documentation for the legacy version of Firezone, now End-of-Life. View the latest docs here.
Enable SSO with Zitadel (OIDC)
Firezone supports Single Sign-On (SSO) using Zitadel through the generic OIDC connector. This guide will walk you through how to obtain the following config settings required for the integration:
- Config ID: The provider's config ID. (e.g.
zitadel) - Label: The button label text that shows up on your Firezone login screen.
(e.g.
Zitadel) - Scope:
OIDC scopes
to obtain from your OIDC provider. This should be set to
openid email profile offline_accessto provide Firezone with the user's email in the returned claims. - Response type: Set to
code. - Client ID: The client ID of the application.
- Client secret: The client secret of the application.
- Discovery Document URI: The OpenID Connect provider configuration URI which returns a JSON document used to construct subsequent requests to this OIDC provider.

Requirements
- Set up your own Zitadel Cloud account.
- Create your first Zitadel instance in the Zitadel Customer portal
- Login to your Zitadel instance and create a project (i.e. "Internal")
More information about these steps can be found in Zitadel's documentation.
Create Zitadel Application
In the Instance Console, go to Projects and select the project you want, then click New.

Give the application a name (e.g. "Firezone") and select WEB for the application type.

Select CODE for the authentication method.

Specify the redirect URI and post logout URI.
- Redirect URIs:
EXTERNAL_URL + /auth/oidc/<Config ID>/callback/(e.g.https://vpn.example.com/auth/oidc/zitadel/callback/) - Post Logout URIs:
EXTERNAL_URL(e.g.https://vpn.example.com)

Double-check the configuration, then click Create.

Copy the ClientId and ClientSecret as it will be used for the Firezone configuration.

In the application Configuration click Refresh Token and then on Save. The refresh token is optional for some features of Firezone.

In the application Token Settings select User roles inside ID Token and User Info inside ID Token. Save it with a click on Save.

Integrate With Firezone
Navigate to the /settings/security page in the admin portal, click "Add OpenID
Connect Provider" and enter the details you obtained in the steps above.
Enable or disable the Auto create users option to automatically create an unprivileged user when signing in via this authentication mechanism.
And that's it! The configuration should be updated immediately. You should now
see a Sign in with Zitadel button on the sign in page.
Step 3 (optional): Restrict access to specific users
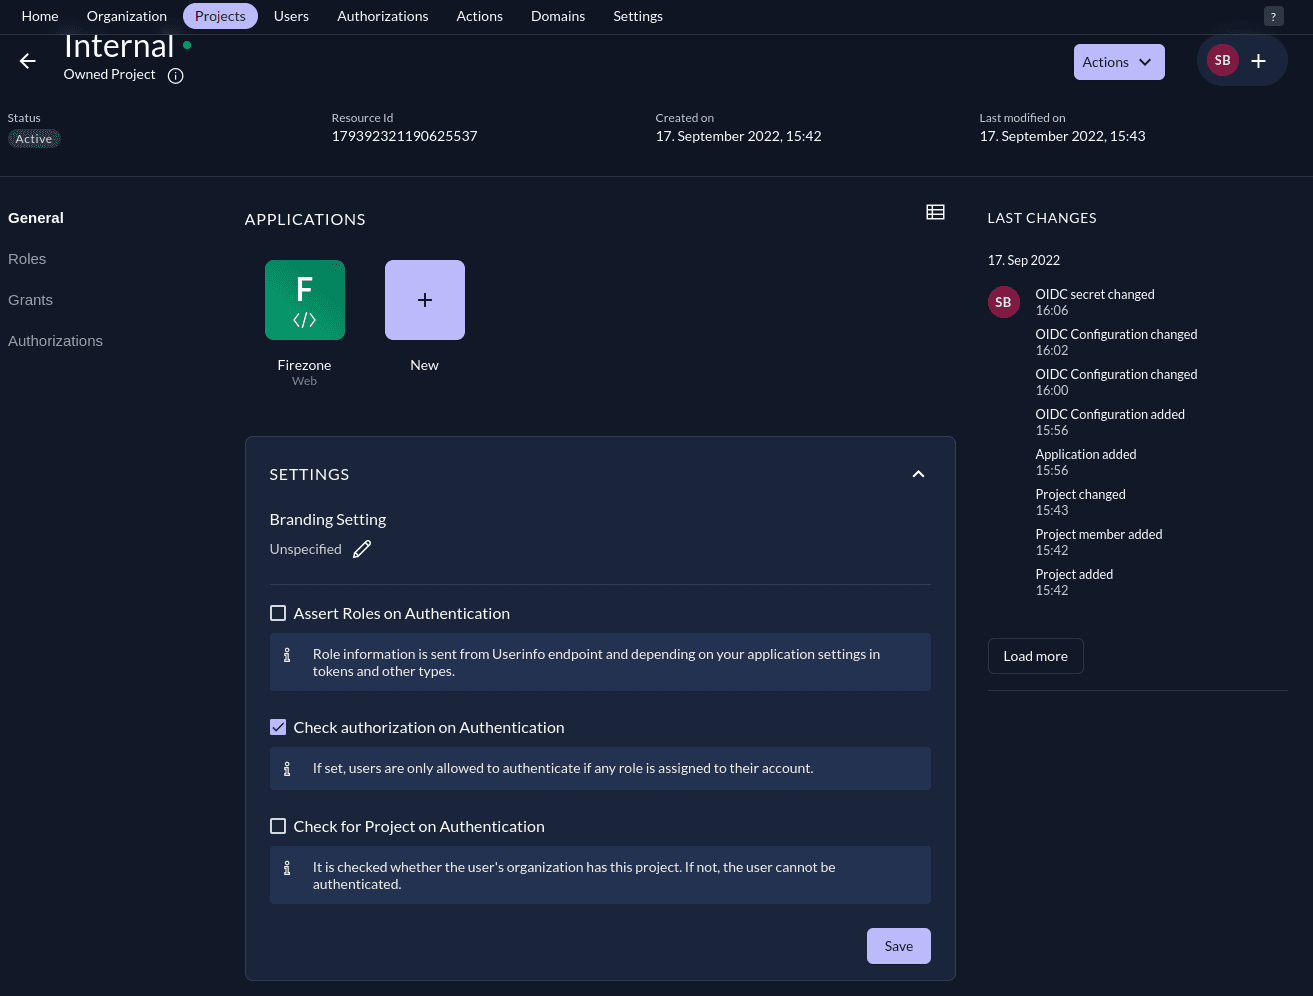
Zitadel can limit which users have access to Firezone. To do this, go to the project where your created your application. In General you can find Check Authorization on Authentication which allows only users with at least one role to login to Firezone.
